Setting a custom fan curve for your graphics card in Precision X OC is very easy.
First, make sure to download and install the
Precision X OC software
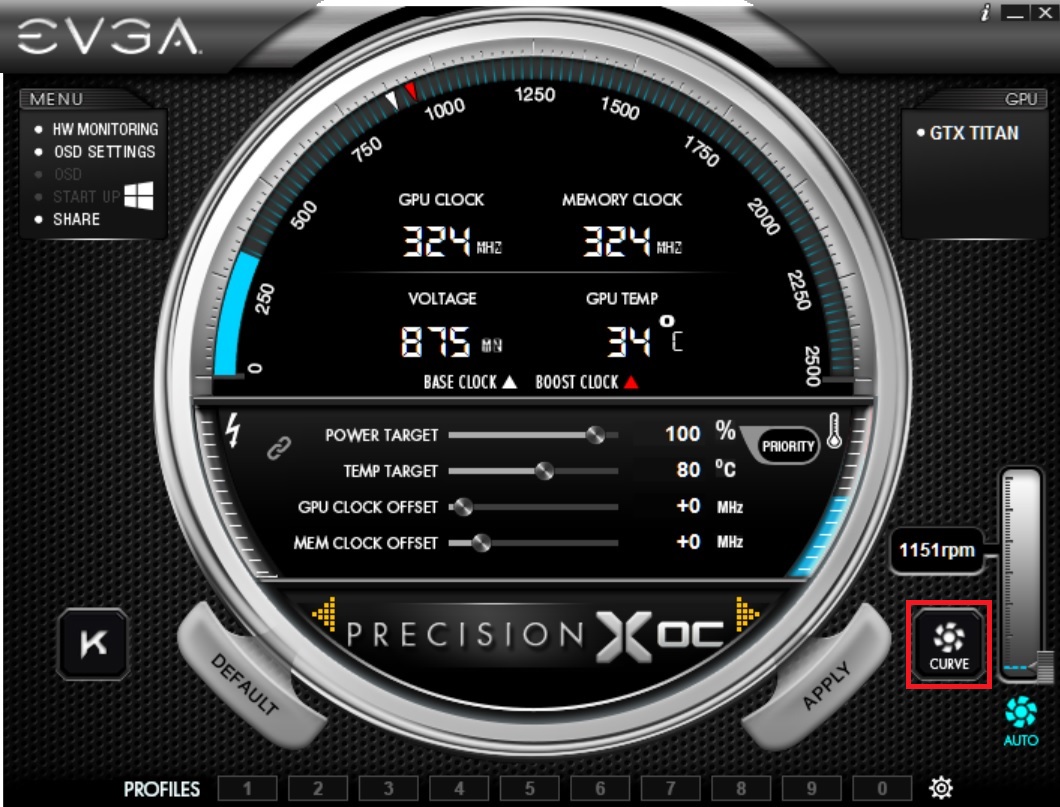
Once you have the Precision software open, you will want to click on the
"
CURVE" button near the bottom right side of the window.
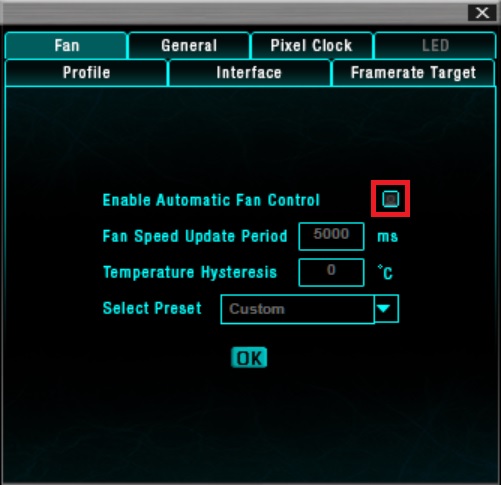
This will open the settings window with the "
Fan" tab selected. On the settings
window click on "
Enable Automatic Fan Control"
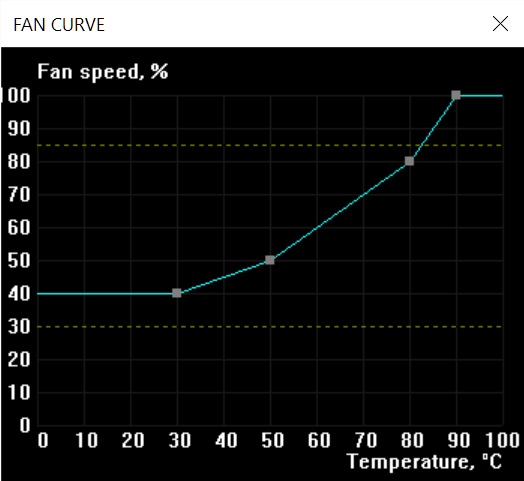
A new window will pop up showing the fan curve adjustments. You can click and
drag the small grey squares to adjust the fan curve based on fan speed=current temperature.
If you need more curve points you can create a new grey square by clicking anywhere on the curve.
You may also notice yellow dotted lines on the fan curve. These lines are showing the minimum
and maximum speeds that the fan can operate.
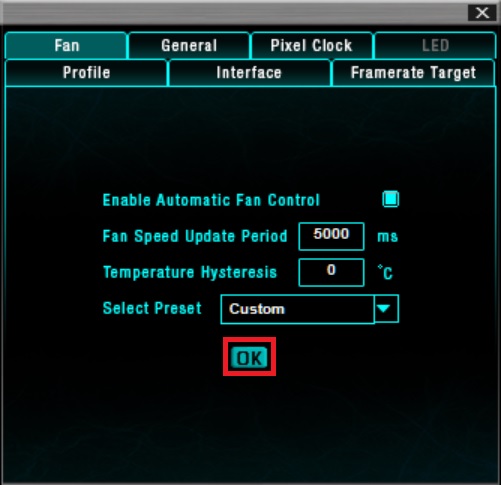
Once you have the fan curve set, click the "
OK" button on the settings window and the
curve will take immediate effect. You can now close the fan curve and settings windows.
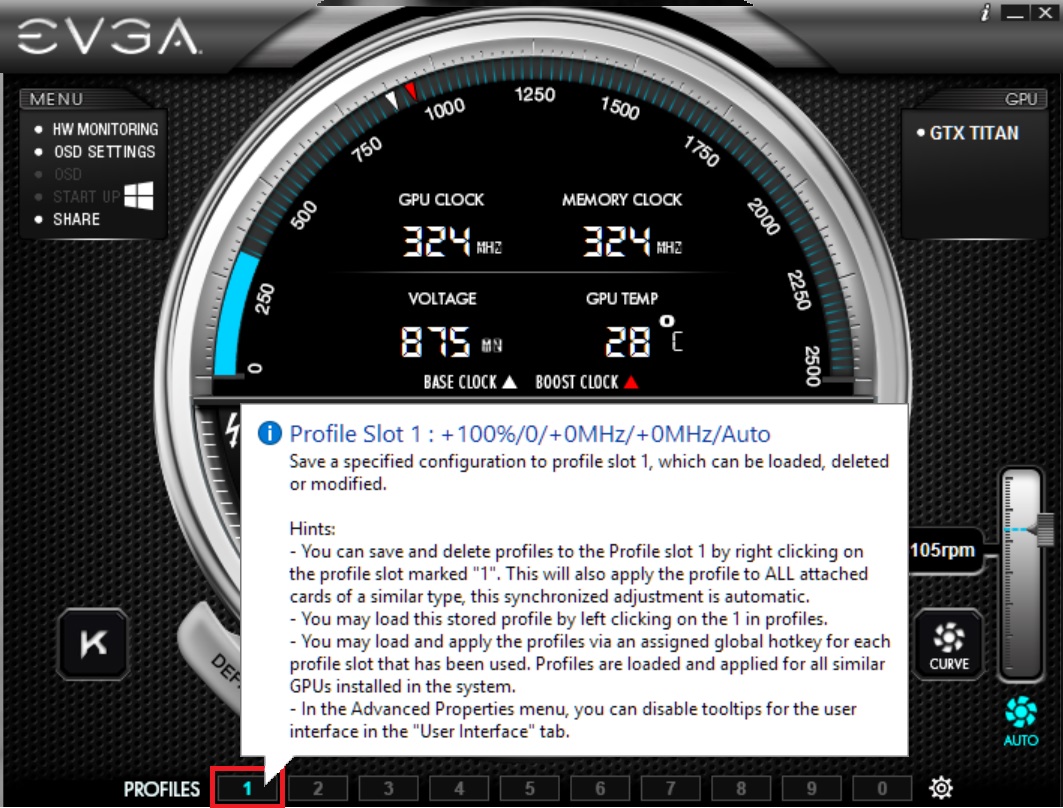
Now that your fan curve is set, you can save it to one of the 10 profile save areas in
Precision X OC.
To save to a profile
RIGHT CLICK on one of the profile buttons and the profile number
will change to blue. The profile is now saved.
Next time you open Precision X OC you can left click on the profile that you saved, and
your fan profile will take effect.
Please note that if you close Precision X OC your fan curve will no longer take effect.